Computer Nerd Kev |
Home|About|Projects|Links |
Projects > SKD-4000 > Reassembly |
SKD-4000 Laptop Reassembly |
On occasions I dig out specimens from my collection of old computers and give them a spin. Sometimes I find that they've thrown in the towel and demanded repair before delighting me with their operation, while other times I find that they've mysteriously resolved some issue that I couldn't be bothered fixing myself upon the time of my last attempted use.
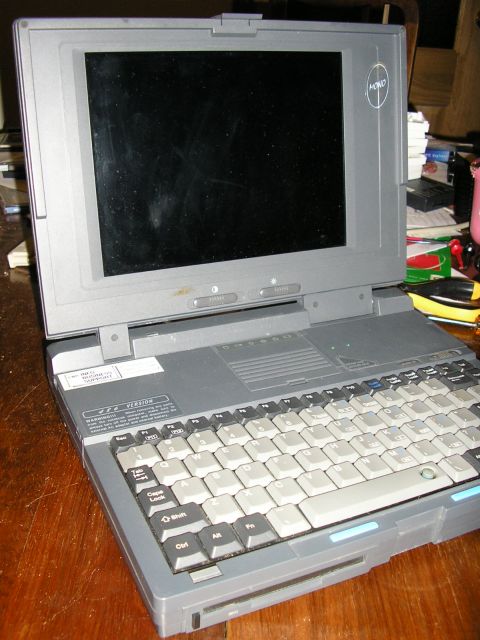
However in the case of my SKD-4000 laptop of early 90s vintage, the smallest of errors had been deemed by it's BIOS to be due cause for denying me the sight of a Windows 3.1 loading screen. The BIOS backup battery had decided two decades of powering default system settings and an untrustworthy system clock were enough. Unfortunately the BIOS design was of that frustrating sort that insists upon terminating the boot process upon discovereing this fault in such an inescapable way that has only been surpassed in irritating effect by the cassic "No keyboard connected, press F1 to continue".
It seemed however that this issue would not cause much trouble to resolve. You see, the SKD-4000 has the surprising feature of allowing not only the Hard Disk, but also the floppy drive, keyboard, RAM and PCMCIA slots to be removed without even taking out a screw. Even the CPU can be accessed from a plastic hatch above the keyboard! A laptop so accomodating to the exchange of its parts would surely not hide a component so enevitably destined for failure as the BIOS battery, it seemed a surprise that it wasn't designed to pop out of the case with a little card saying "do you require my replacement?" every time the screen was raised. Of course it turned out to require the complete disassembly of the computer...
See my SKD-4000 Infomation page.
I only took pictures of reassembling the laptop, not disassembling it (I didn't realise I'd be doing so much disassembly when I started), so you might want to go to the bottom of the page and work up if it makes more sense to you.
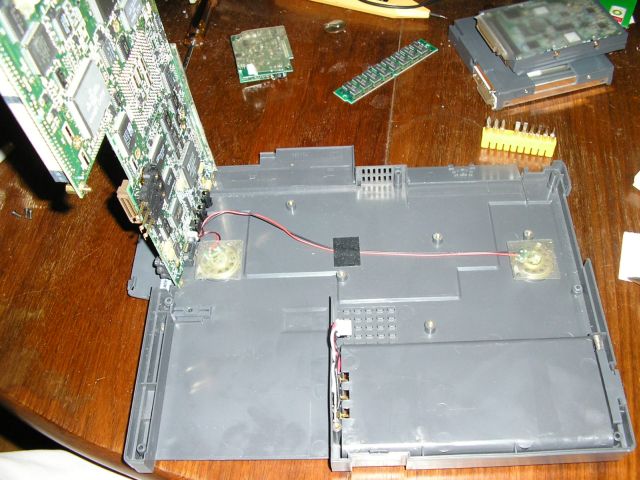
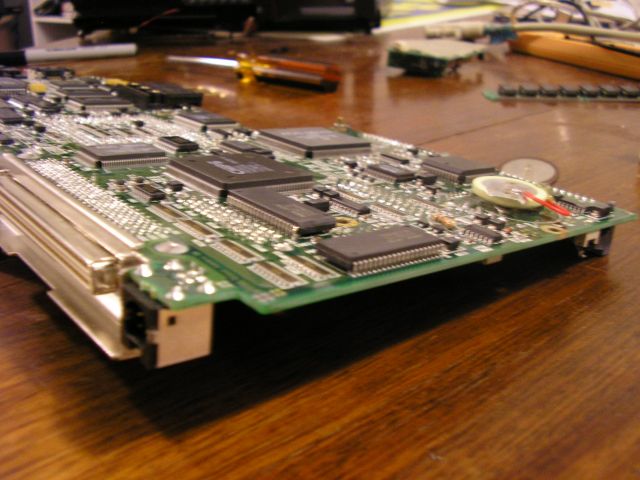
Motherboard out! At this point I'm wondering if the battery even exists.
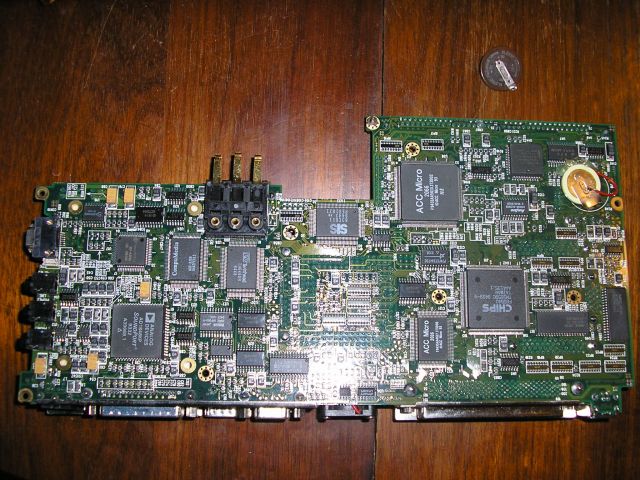
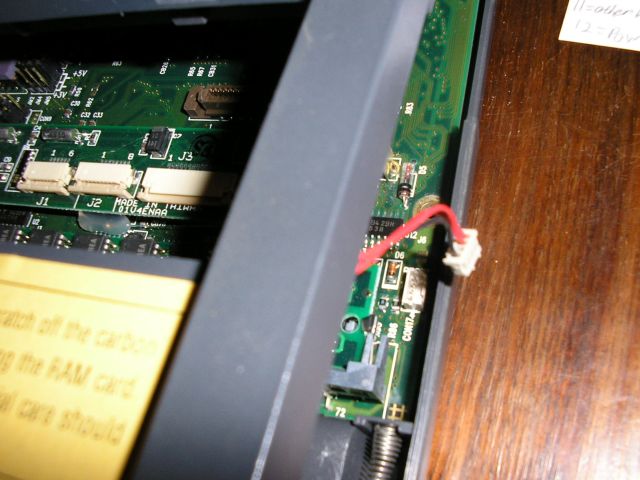
Of course it does, it was soldered onto the bottom of the motherboard (as if things wern't hard enough, they didn't even give me a socket!). It was a 3V Panasonic 2330 size Lithium battery, I replaced it with a 2032 as I keep a stock of them. I had to run some wires to the solder pads because the solder tags on my 2032 were designed for upright mounting. The above picture shows the motherboard after the replacement, the old battery is sitting above the board.
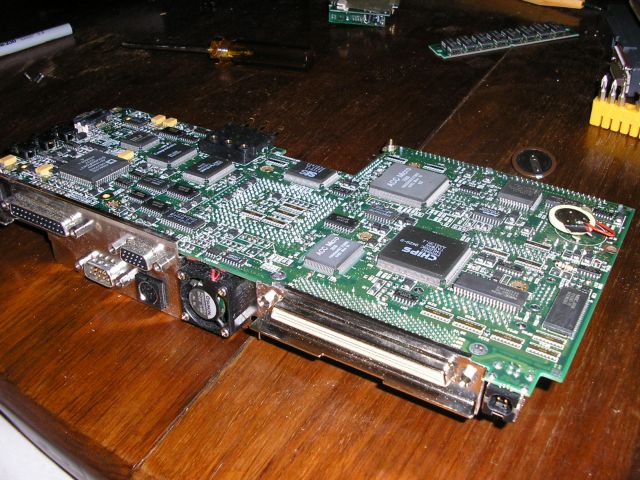
Motherboard back in place.

The power supply board, there's been some work put into fitting all the components into a small enough space.
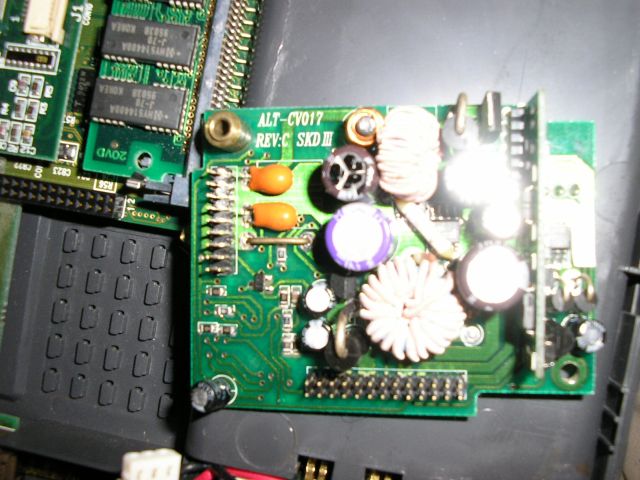
I don't think you could get these caps and inductors in much tighter.

And plenty of surface mount components on the back too, the battery plugs straight into this board.
Now for the screen and upper half of the case. Things get a bit awkward while having to hold the screen in the air.
An easy one to forget, I didn't notice it when taking the laptop apart. I thinks it's for the mouse buttons.

It's looking like a laptop again.

These screws in the bottom are all the same length. I can't remember why I pointed this out so exactly.
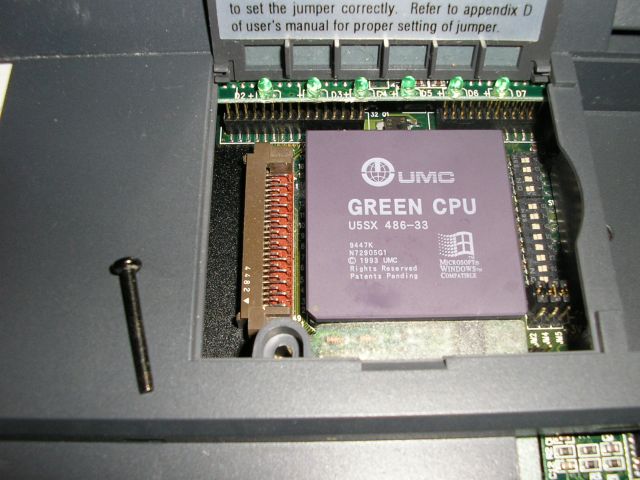
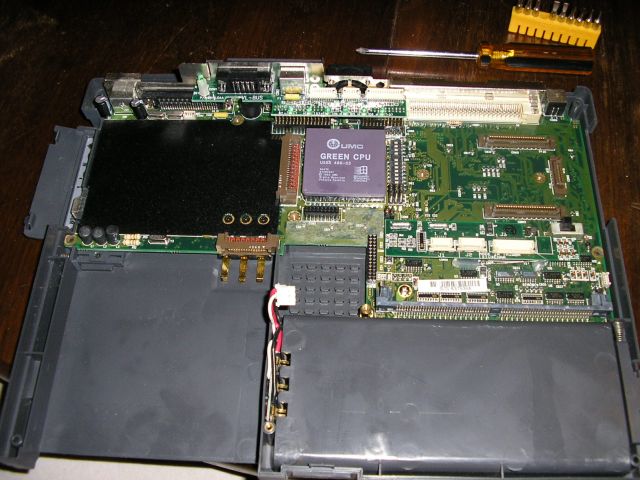
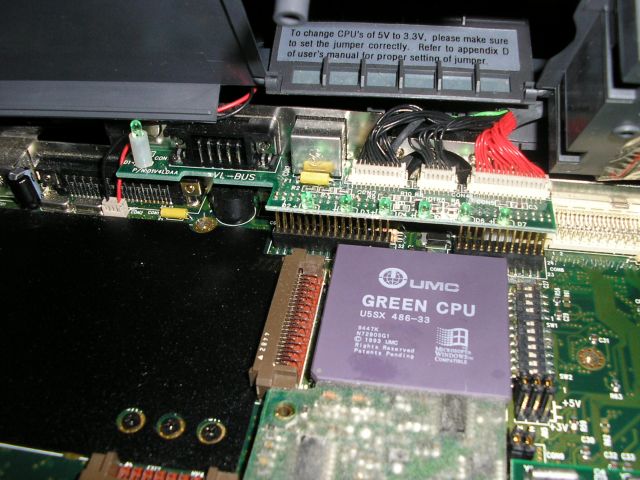
The CPU in its hatch, and another screw required to keep the case in its place. No need for a fan with a 33MHz 486.
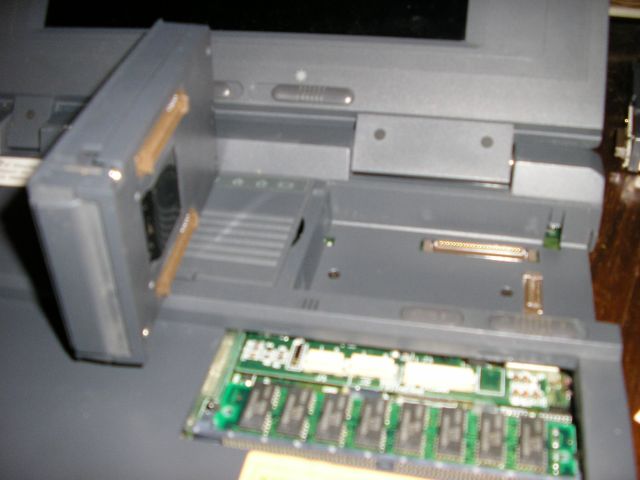
The PCMCIA module just snaps in place. Alternatives that I've seen for this spot in the case are a "trackpoint" mouse ball, and an extra parallel port facing upwards (no idea why). Blame my digital camera for the poor focus.

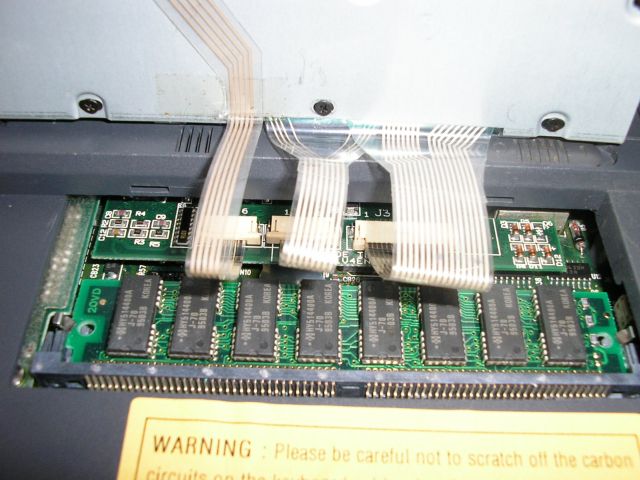
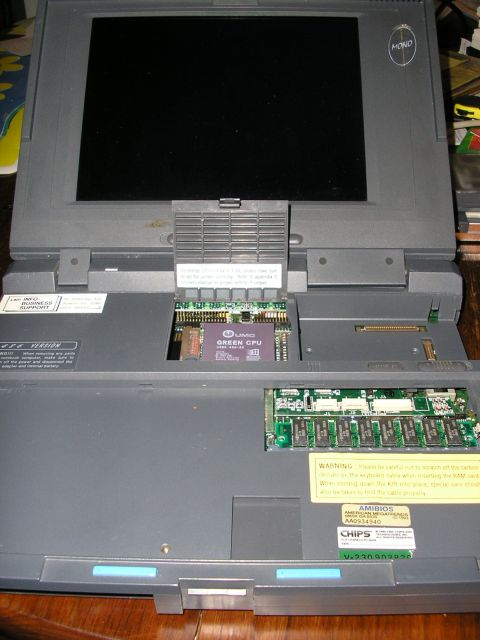
Time for the keyboard, I think getting the three of these connected again was a bit of a fiddle. Also notice the full 8MB of memory sitting in its slot.
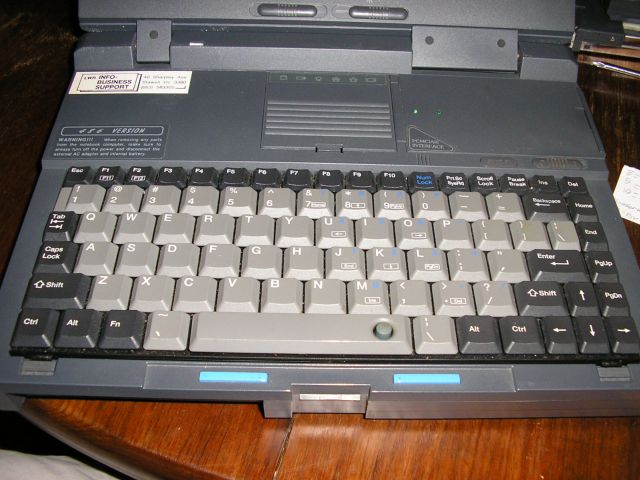
Instead of the trackpoint ball, I've got an IBM Thinkpad style nib in the space bar for a mouse.
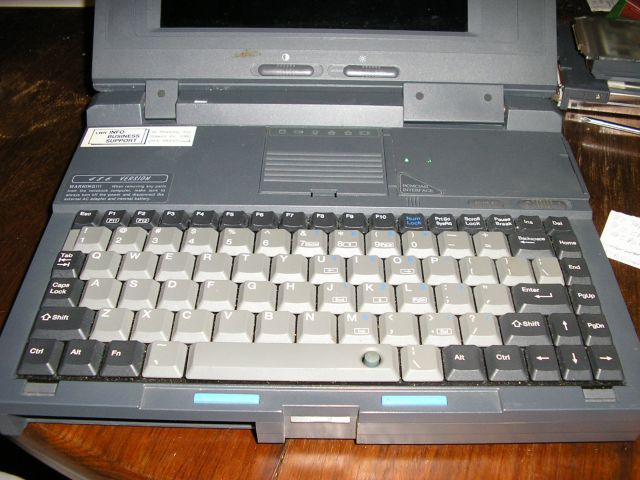
And with a little push, it clicks in place. It can be removed again with remarkable ease by sliding back the two catches at the front.
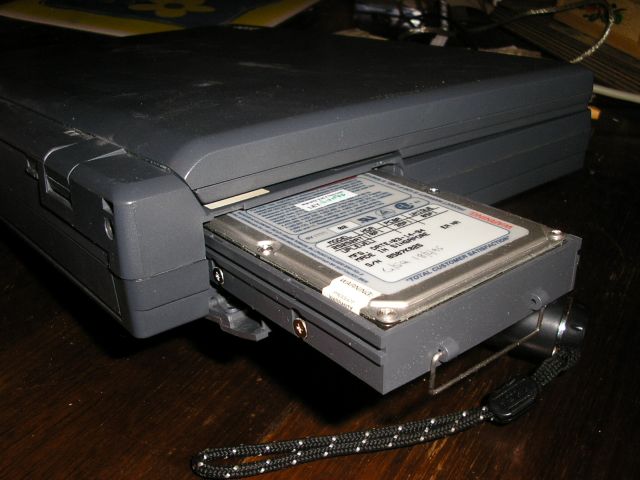
Now for the Hard Disk.
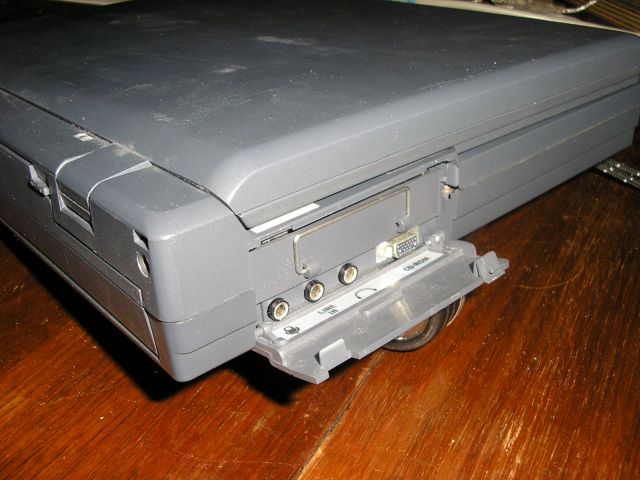
You can pull it out again as easily as you can plug in your headphones below. The strange plug on the right is for an external CDROM unit. There is a second hatch where the sticker is to allow the audio and CDROM ports to be accessed in the occasional circumstance when you don't want to replace the Hard Drive at the same time.
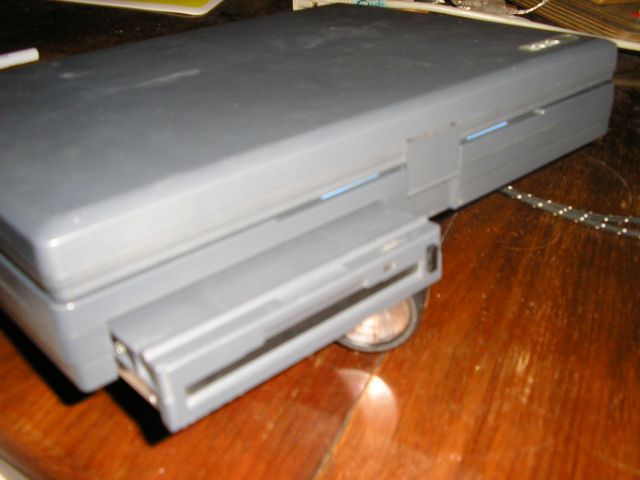
First attempt at inserting the floppy drive. What on Earth is stopping it?!
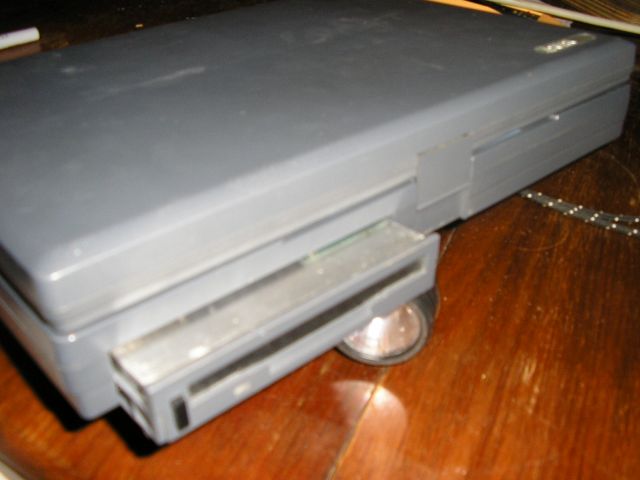
Second attempt at inserting the floppy drive, this time with it the right way around.
Back together and looking as good as old! Time to see what colour of smoke comes out when the power turns on...

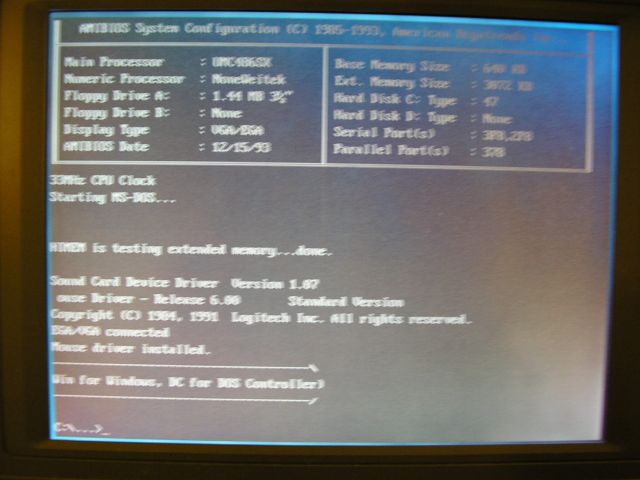
None, It's working great! And what's this? A windowing BIOS set-up in 1993! Mouse control and all, it's hardly worth
booting the OS.
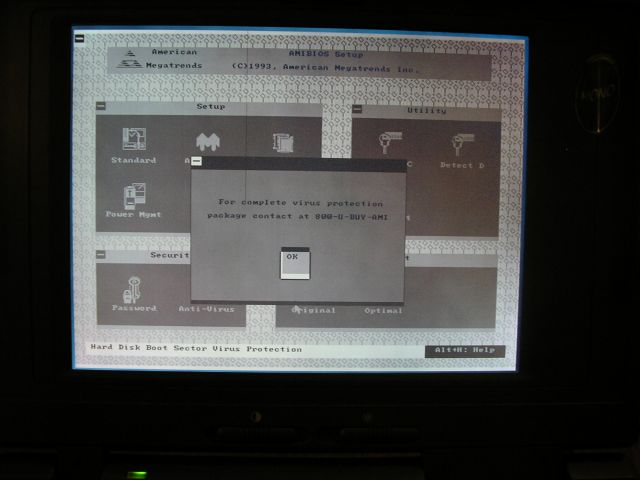
An advert in the BIOS menus?! This is taking a bit too much inspiration from M$ Windows...
All systems go! I've been here before and set up my standard "win for Windows, or dc for DOS Controller" prompt. DOS Controller is my favourite Commander file manager for DOS, it runs lightning quick and can start programs from its menus.
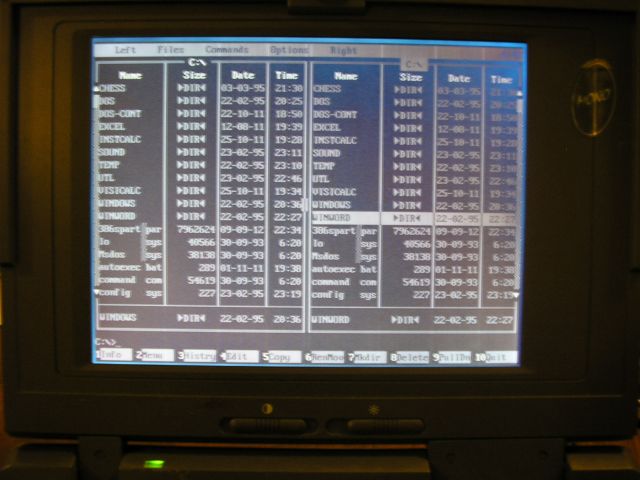
And here's what it looks like. the one problem with it is that I've never found a way to select and copy multiple files. As you've likely noticed by now, my version of the laptop has the monochrome screen.
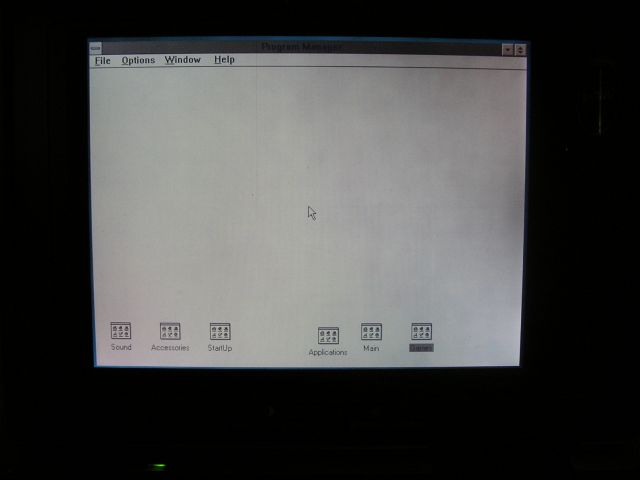
Now for some Windows 3.1 fun.

Oh the choice of modern computing.
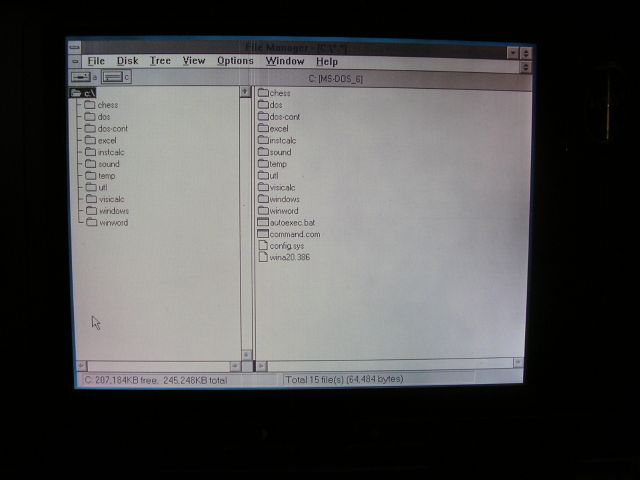
Explorer, before it started growing more buttons, then loosing them again. I put the spreadsheet programs on after I got the PC, originally it just had Word and Chess - well what else do you want from a computer?
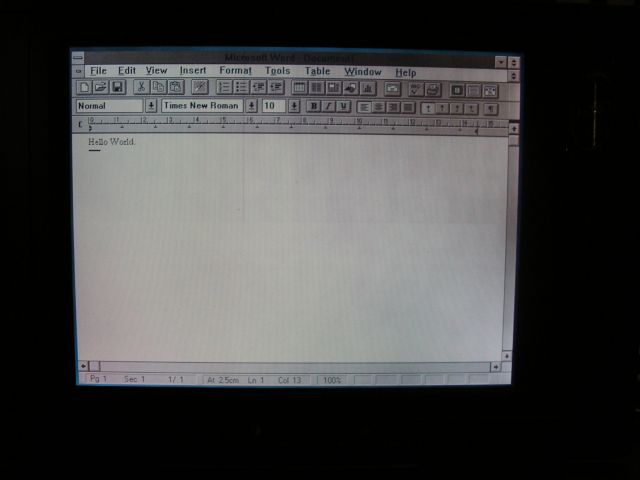
Microsoft Word 2.0c. Feels a bit like WordPad with a spell checker...

Not just Chess, 3D Chess!
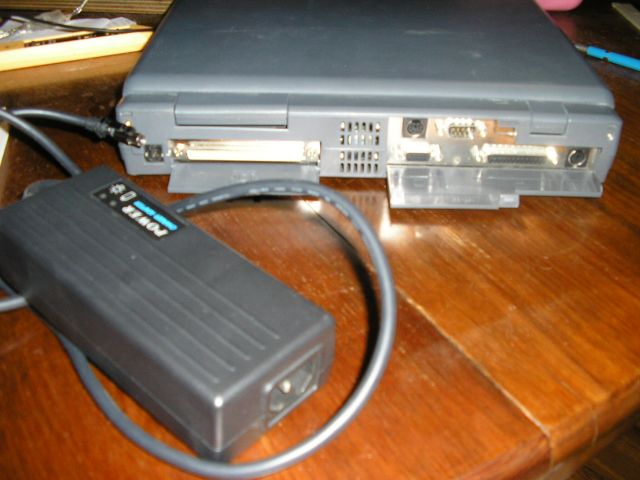
A quick peak at the rear end.
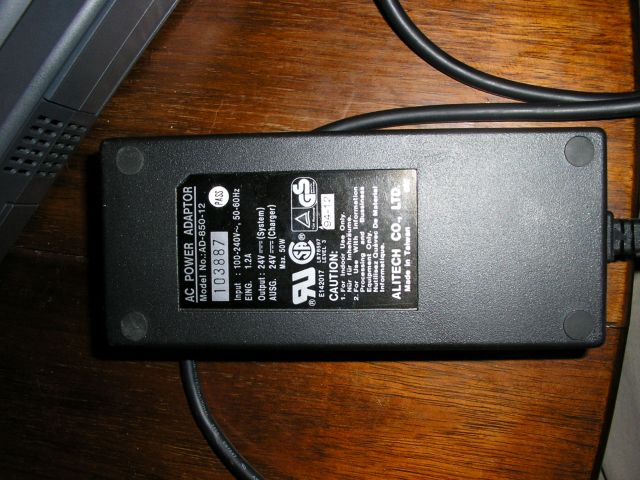
Power supply specs.
And there we are, one more old laptop restored to service.